Who is this stranger telling me how to take the next step in my climbing journey? Hi, Mitchell Claasen here. I am the Head route setter at CityROCK Pretoria, where I have been since 2024. My climbing journey started in 2019 when I heard of this strange spot in Randburg from a girl in a bar. With minimal background in this style of sport but a passion for the outdoors, I got hooked pretty quickly. It took me 2 years to get to my first (24)7a, but I got there. 6 years later, I am working on sending my first 29(7c+). I started setting in 2020, where I saw a lot of new people joining the sport, and I spent much of my time trying to figure out what makes someone enjoy the sport and how I could accommodate their climbing journey. Now I am sharing what I have observed over the years and hope to help you get to the next step in your journey.
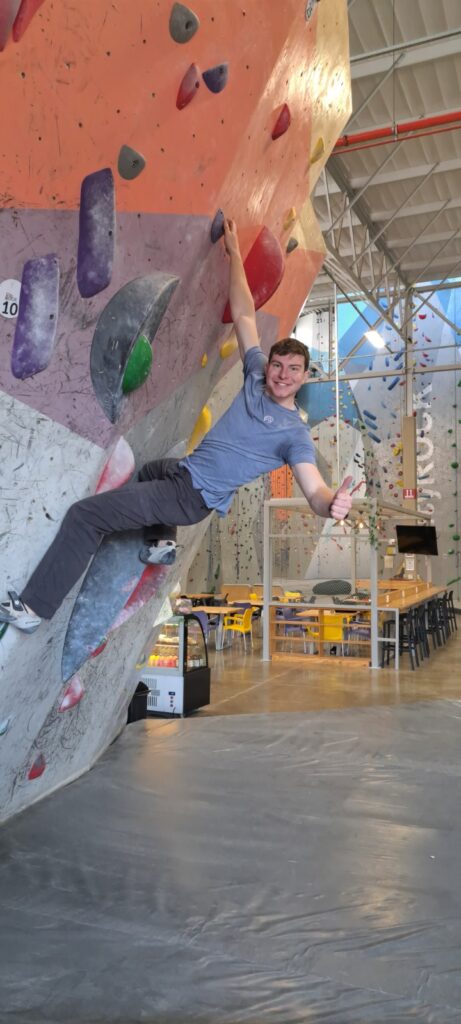
A Simple plan to give you some structure
So, you’ve hit the first plateau of your climbing journey, and you can’t quite figure out what to do. That’s okay! We have all been there, but what do you do next? We could blame our shoes and go for a super aggressive pair, we could blame the setters (my personal favourite), or we could look at ourselves and see what we are missing.
I have spent many a day watching people start, and then a few months later get stuck, frustrated, and sometimes even quit. So, I decided I’d put together a plan to help you get over this first test of your resilience.
Before I start giving you my sweet and juicy beta, I want to take a second to set the base off of what I assume we will be working with. I assume that you are: climbing in the gym regularly (2-4 times a week), are of a moderate fitness level, are keen on developing both bouldering and highwall climbing, have the necessary belay tags (lead or top rope will be fine), have well-fitting shoes, and you have and use chalk and a chalk brush. I am also assuming that you have been climbing for about 3 – 9 months and are getting stuck in the 18-22(SA grade)/ 6a-6b+(Font) grades. (PS I’m not by any means an official coach, and I always recommend that you try to get individual attention from a trained and seasoned coach.)
Warm up: To be done before each session
- 10 minutes of light cardio (jogging or brisk walking) and dynamic stretches.
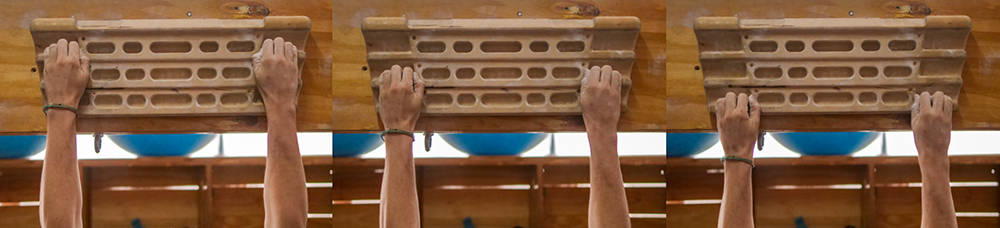
- 8 sets of 10-second hangs on progressively smaller edges. You should start by hardly trying, and by the 8th set be at about 80% of your max. Between each set, rest for about 1 minute and use that time to gently stretch your legs, hip flexors, and upper body.
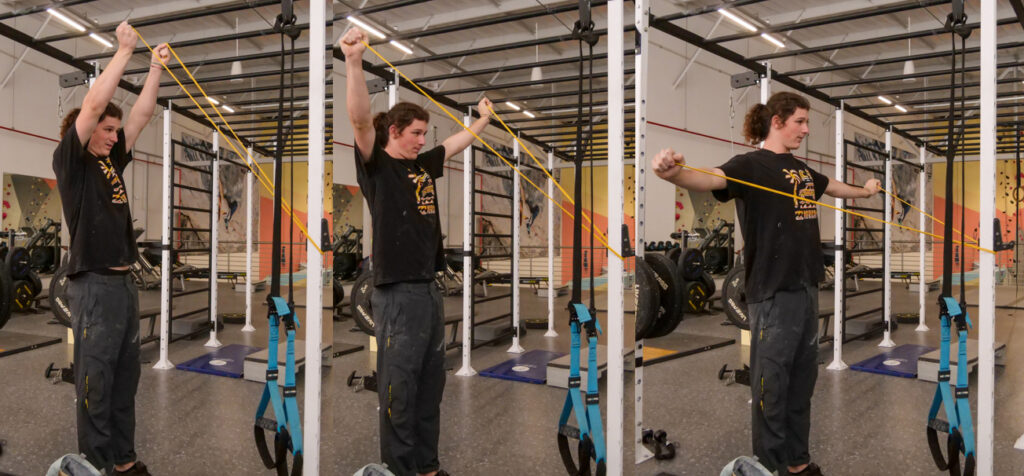
- 1 set 10 reps I’s, Y’s, and T’s using a light to moderate resistance band. Your shoulders should feel lightly fatigued but should not exceed 70% of your capacity*.
- 2 sets of 30-45 second planks. Your core should feel engaged, but not exceed 80% of your capacity.
- Climb either 2-3 routes or 6-8 boulders that are easy to flash but require engagement and muscle recruitment. Ideally, use climbs that have been completed before and focus on technique and controlled movements.
*What do we mean by Capacity? Being at 100% capacity would mean being at your maximum possible effort. At this point you would begin to fail repetitions and not be able to maintain the effort for a whole set. We want to be under this threshold for our exercises.
Day 1: Technique and strength
- Warm-up: as above.
- Hover climbing: Pick 4 boulders at your Onsight grade and climb them by holding your hand or foot 2 cm above each hold (hand and feet), for 3 seconds before placing it and making the next move. Do this once per boulder with 2 minute rest between boulders, then repeat all 4 boulders again to complete 8 boulders in total.
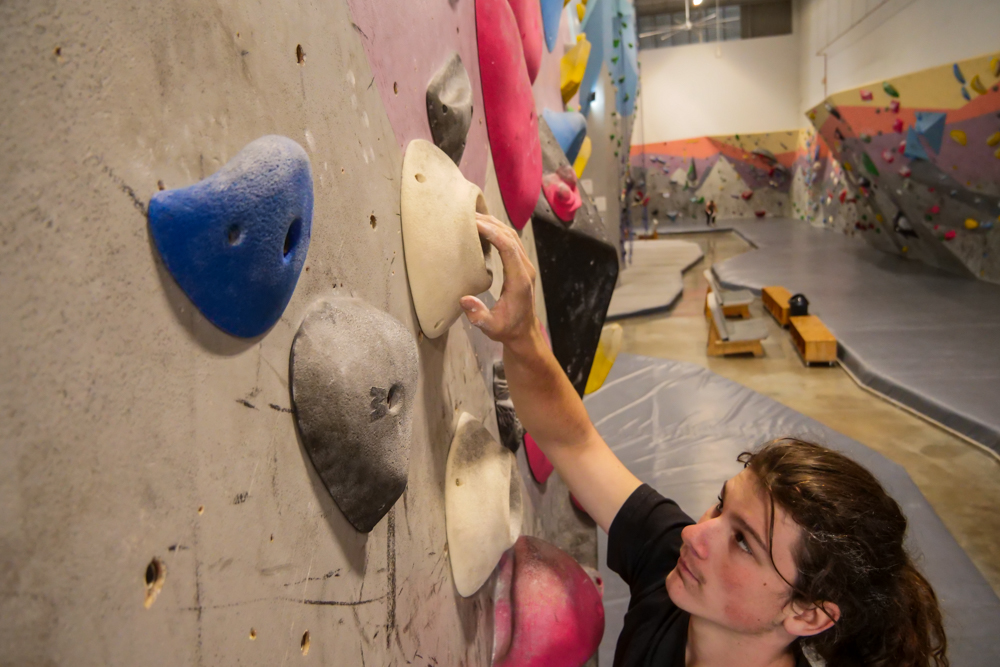
The focus of hover climbing is to find balanced/stable positions and engage your core. This develops technique and helps build strength. We repeat the boulder so that we can focus on the movements we have learned, or find a better position if it was not achieved on the previous set.
The goal is to develop stable moving positions and better climbing technique.
- Strength training:
- Pull-ups: 4 sets of 3 reps. Focus on form and controlled movement. Use as much assistance as necessary to complete 3 sets; the 4th set should be hard to complete but still possible.
- Push-ups: 4 sets of 10 reps. Focus on form and controlled movement. Adjust reps or do bent knee push-ups to adapt to the ideal intensity; you should be able to complete 3 sets but struggle to complete the 4th set.
- Cool-down: Gentle stretching, especially for your forearms, shoulders, and back.
Day 2: Building Technique and Strength
- Warm-up: as above.
- Silent feet climbing: Climbing either a route or a boulder, focus on placing your feet firmly and precisely on each hold. Imagine that there is a tiny dot on each foothold and bells attached to your shoes (or actually put bells on your shoes if you are really committed), place your front edge/big toe on the dot, and don’t readjust if it’s not perfect. Repeat this for each foot movement.
- Complete either 8 boulders or 4 routes with a rest between routes/problems. You should be able to complete each route or boulder, but just barely by the end.

The objective behind silent feet climbing is to develop footwork, build trust in your feet, and improve technique.
The goal is to improve footwork and take the weight off our upper body.
- Core Engagement:
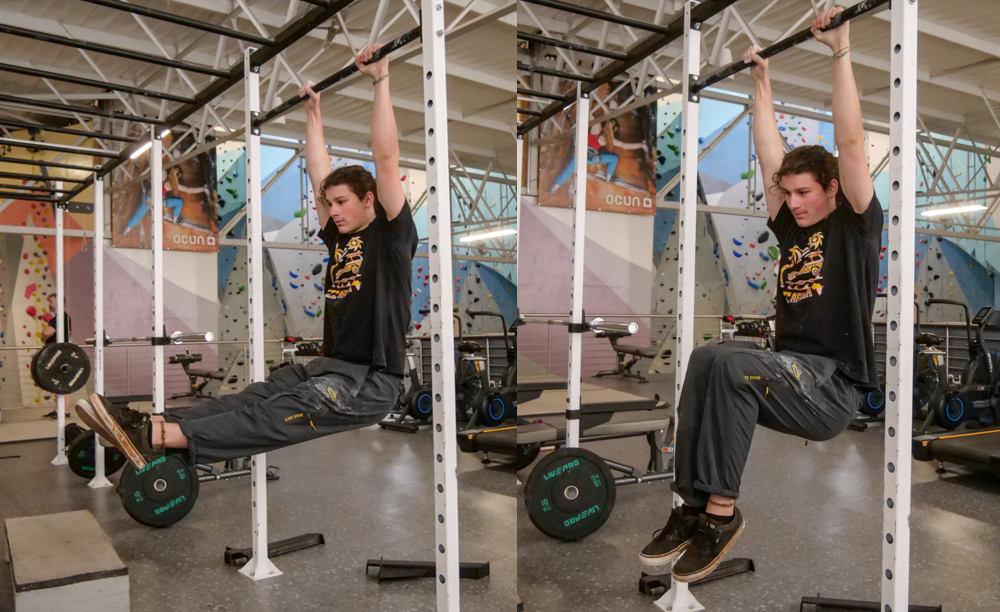
- 2 sets of 10 leg raises or knee tucks while hanging on a bar. You should feel your upper abs working. The first set should be easy to complete, but you should struggle on your last 2 reps of the second set.
- 3 sets of 45-second plank. Aim to complete all sets with the last 5 seconds of each becoming difficult to maintain.
- 2 sets per side of 45-second side plank. Aim to complete all sets with the last 5 seconds of each becoming difficult to maintain.
- Cool-down: Full-body stretching with emphasis on the back and hips.
Day 3: Endurance and Recovery
- Warm-up: as above.
- Route Repetition: Pick one easy route and climb it twice with no rest in between to build endurance. Pick a route that is easy to complete on the first attempt but has you falling off at the top on the second go. Do this 4 times on different routes.
The goal is to build endurance and find the most efficient ways to climb.
- Foam roll: Using a foam roller or massage ball, give all those aching muscles some TLC.
- Cool-down: Stretch out your arms, legs, and shoulders thoroughly.
Programme Tabulated (for our excel lovers)
| Warm-up | Reps/Duration | Sets | Rest duration |
| Cardio | 10 Minutes | 1 | N/A |
| Progressive hangs | 10 Seconds | 8 | 2 Minutes |
| I’s | 10 | 1 | 1 Minute |
| Y’s | 10 | 1 | 1 Minute |
| T’s | 10 | 1 | 1 Minute |
| Plank | 30-45Seconds | 2 | 1 Minute |
| Day 1 | Reps/Duration | Sets | Rest duration |
| Warm-up | 1 | 1 | N/A |
| Hover Climbing | 1 | 8 | 2 Minutes |
| Pull-ups | 3 | 4 | 2 Minutes |
| Push-ups | 10 | 4 | 2 Minutes |
| Cool down | 1 | 1 | N/A |
| Day 2 | Reps/Duration | Sets | Rest duration |
| Warm-up | 1 | 1 | N/A |
| Silent feet climbing | 1 | 8 Boulders/4 Routes | 2-5 Minutes |
| Leg raises | 10 | 2 | 2 Minutes |
| Plank | 45 | 3 | 2 Minutes |
| Side plank | 45 | 2 per side | 2 Minutes |
| Cool down | 1 | 1 | N/A |
| Day 3 | Reps/Duration | Sets | Rest duration |
| Warm-up | 1 | 1 | N/A |
| Route repetition | 2 | 4 | 5-10 Minutes |
| Foam Roll | 1 | 1 | N/A |
| Cool down | 1 | 1 | N/A |
The primary reason why most people climb is that it is fun, and we often use climbing spaces for socializing and making new friends. Don’t forget that. Make sure to spend time with your friends and don’t feel trapped doing a training plan that doesn’t work for you.